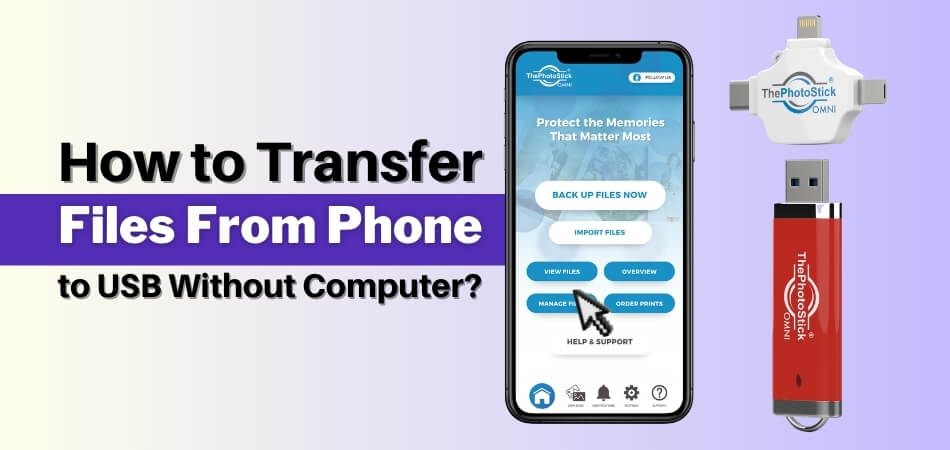
Running out of storage at the worst possible moment can be frustrating. Photos, videos, and documents build up quickly, and not everyone has a laptop nearby. That is why many people search for how to transfer files from phone to USB without computer when they need a quick and reliable solution.
The good news is that the process is simple. You can connect a compatible USB drive using OTG, USB-C, or Lightning, then copy and move files directly through your phone’s file manager. No computer or internet required. Keep reading to learn the exact steps and avoid common mistakes.
Why Do You Need to Transfer Files Without a Computer?
Moving files from your phone to a USB drive without a computer is a fast, practical way to free up storage, back up photos and videos, and keep files offline. It’s ideal when you don’t have a PC nearby and want a quick, secure transfer. Here are the most common situations where this becomes especially useful:

Phone Storage Is Full
Modern smartphones fill up fast. High-resolution photos, 4K videos, WhatsApp media, and downloaded documents can quickly consume internal storage. Moving files to a USB drive is a fast way to free up space.
No Laptop or PC Available
Not everyone carries a computer. If you’re traveling, your laptop is broken, or you simply don’t own one, direct USB transfer becomes essential.
Offline Backup Is Safer
Cloud storage requires internet access and sometimes paid subscriptions. A USB flash drive gives you:
- Offline backup
- Faster file movement
- More privacy control
- No upload/download waiting time
Emergency Data Transfer
If your phone battery is draining, malfunctioning, or you’re switching devices, quickly copying files to a USB drive can protect important memories.
In short, this method is about convenience, speed, and independence from a computer.
How to Transfer Files from Phone to USB Without Computer (Step-by-Step Procedure)
You can transfer files from your phone to a USB drive without a computer by using a compatible adapter (or a dual-connector USB drive) and your phone’s file manager. Once the drive is detected, you can copy photos, videos, and documents directly to external storage. Here’s the exact step-by-step process.
What You Need Before Starting
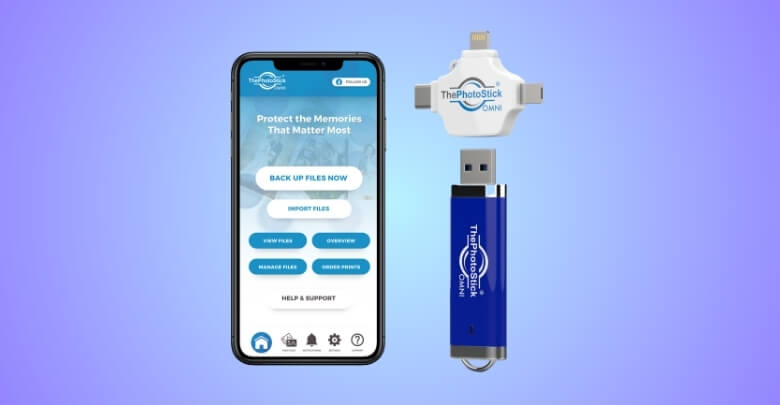
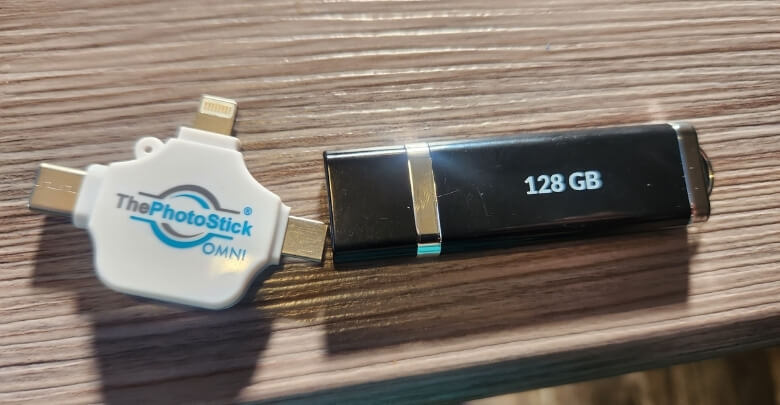
- A USB flash drive (for example, a dual-connector drive like ThePhotoStick Omni can make transfers easier across different devices)
- The correct adapter (USB OTG, USB-C, or Lightning)
- A phone that supports external USB storage
- Built-in File Manager or Files app
Now follow the steps carefully.
Step 1: Confirm Your Phone Supports External USB Storage
Most modern Android devices support USB OTG (On-The-Go). Most newer iPhones support external drives using Lightning or USB-C adapters.
If your phone was released within the last several years, it likely supports external storage. If unsure, check your device specifications or test with an OTG adapter.
Step 2: Connect the USB Drive to Your Phone
Use the correct connection method:
For Android:
- USB-C phone → Use a USB-C flash drive or a USB-C OTG adapter
- Micro-USB phone → Use Micro-USB OTG adapter
For iPhone:
- Lightning port → Use Lightning to USB adapter
- USB-C port → Plug the USB-C flash drive directly
After connecting:
- Android will show a “USB Drive Detected” notification.
- iPhone will display the drive inside the Files app under “Locations.”
If prompted with “Allow access to USB device?”, tap Allow.
Step 3: Open File Manager or Files App
On Android:
- Open File Manager, My Files, or Files by Google.
- Locate the USB drive under Storage or External Devices.
On iPhone:
- Open the Files app.
- Tap Browse.
- Select the connected USB drive under Locations.
Step 4: Select the Files You Want to Transfer
Navigate to the folder containing your files:
- DCIM (Photos & Videos)
- Downloads
- Documents
- WhatsApp Images
- Any custom folder
To select files:
- Long-press a file (Android)
- Tap Select (iPhone)
You can select multiple files at once.
Step 5: Copy or Move Files to the USB Drive
After selecting your files:
- Tap Copy or Move
- Navigate back to the USB drive location
- Tap Paste
Important:
- Choose Copy if you want to keep the original files on your phone.
- Choose Move if you want to free up storage after transfer.
Wait until the transfer completes. Large 4K videos or large folders may take several minutes.
Do not disconnect the USB drive during transfer.
Step 6: Safely Eject the USB Drive
Never unplug the drive without ejecting it properly.
On Android:
- Go to Settings > Storage
- Tap the USB drive
- Select Eject
On iPhone:
- Open Files
- Tap the eject icon next to the drive name
Wait a few seconds before removing the USB. Once ejected, your files are safely transferred.
Does Your Phone Support USB OTG? Here’s How to Check
USB OTG (On-The-Go) lets your phone work like a mini computer, so it can detect and access a USB flash drive for direct file transfers. Before you try copying files, it’s smart to confirm your device supports OTG or external storage to avoid “USB not detected” issues.
How to Check on Android
You can confirm OTG support by:
- Searching your phone model specifications online
- Checking Settings > Connected Devices > OTG
- Using a free OTG checker app
- Simply plugging in an OTG adapter and testing
Most Android phones released after 2015 support OTG.
How to Check on iPhone
For iPhones:
- Lightning models require a Lightning to USB adapter.
- USB-C iPhones (newer models) support direct USB-C drives.
If you frequently transfer photos or videos, confirming compatibility is especially important when choosing the right photo backup stick, since connector type and device support must match perfectly.
Quick Compatibility Summary
| Device Type | OTG Support | Adapter Needed |
| Android (USB-C) | Yes | Sometimes none |
| Android (Micro-USB) | Yes | OTG cable |
| iPhone (Lightning) | Yes | Lightning adapter |
| iPhone (USB-C) | Yes | Usually none |
If your USB drive doesn’t show up, compatibility is the first thing to verify.
USB-C, Lightning, or OTG Cable: Which One Should You Use?
Choosing the right connector is the easiest way to avoid failed connections and “USB not detected” errors. Since Android and iPhone ports vary (USB-C, Micro-USB, Lightning), the correct adapter or flash drive determines whether your phone can read the USB instantly.
Quick Connector Comparison
| Phone Port Type | What You Should Use | Best Option | Notes |
| Android (USB-C) | USB-C flash drive or USB-C to USB-A OTG adapter | USB-C flash drive | Often plug-and-play |
| Android (Micro-USB) | Micro-USB OTG adapter + USB drive | OTG adapter | OTG is required |
| iPhone (Lightning) | Lightning to USB adapter (Camera Adapter) + USB drive | Lightning adapter | Files app access |
| iPhone (USB-C) | USB-C flash drive (direct) or USB-C adapter | USB-C flash drive | Usually, no adapter needed |
For Android Users
If your phone has:
USB-C Port
You can use:
- A USB-C flash drive
- A USB-C to USB-A OTG adapter
Micro-USB Port (Older Phones)
You must use:
- Micro-USB OTG adapter
Without an OTG cable, the phone won’t detect the USB drive.
For iPhone Users
If your iPhone uses:
Lightning Port
You need:
- Lightning to USB Camera Adapter
USB-C Port (Newer Models)
You can:
- Plug in USB-C flash drives directly
Dual flash drives (USB-A + USB-C or USB-C + Lightning) are convenient because they eliminate extra adapters.
File Format Matters: FAT32, exFAT, or NTFS?
If your USB drive doesn’t appear on your phone or file transfers fail halfway, the file format is often the reason. USB drives use different file systems, and phones don’t support all of them equally, so choosing the right one can save you a lot of time and frustration and is also one of the best ways to store your photos and videos offline.
FAT32
- Most compatible format
- Works on nearly all phones
- 4GB maximum file size limit
Good for:
- Photos
- Small videos
- Documents
exFAT
- Supports files larger than 4GB
- Ideal for 4K videos
- Supported by most modern smartphones
Best overall choice for large media transfers.
NTFS
- Primarily Windows format
- Some Android phones may not support it
- Often unreadable without special apps
If your USB is not detected, formatting it to exFAT or FAT32 may solve the issue.
How to Check Your USB Format
You’ll typically need a computer once to check or change the drive’s file system. After your USB is formatted correctly (usually exFAT for large files or FAT32 for maximum compatibility), it should work smoothly with your phone for future transfers, no computer needed next time.
How to Safely Eject a USB Drive From Your Phone?
Safely ejecting your USB drive protects your files from corruption and prevents transfer errors. It only takes a few seconds, but it avoids lost photos and damaged folders. Follow these quick steps below.
- Step 1: Confirm the transfer is finished and no files are still copying, then close the File Manager or Files app to stop background activity.
- Step 2: On Android, open Settings, go to Storage, tap the connected USB drive, then select Eject to unmount it safely.
- Step 3: On iPhone, open the Files app, tap Browse, find the USB drive under Locations, then tap the Eject icon.
- Step 4: Wait five to ten seconds after ejecting to ensure the phone fully disconnects the drive, then unplug the USB gently.
- Step 5: If you do not see an eject option, return to the file app, close open files, and try again before unplugging.
Making safe ejection a habit keeps your USB reliable, prevents corrupted files, and ensures your next phone-to-USB transfer works smoothly. Next, let’s cover common mistakes to avoid during file transfer.
Common Mistakes to Avoid During File Transfer
Transferring files from phone to USB without a computer is straightforward, but small mistakes can cause failed transfers or corrupted data. Avoid these common errors below to ensure smooth, secure file movement every time.
Not Checking OTG Compatibility
Many users skip verifying whether their phone supports USB OTG or external storage. If OTG is not enabled or supported, the USB drive will not appear. Always confirm device compatibility in settings or manufacturer specifications before attempting file transfer.
Using the Wrong Adapter
USB-C, Micro-USB, and Lightning ports are not interchangeable. Using the wrong connector prevents proper detection of the USB drive. Check your phone’s exact port type and choose the correct OTG cable or adapter for seamless connectivity.
Removing the USB Without Ejecting
Unplugging a USB drive without safely ejecting it can interrupt background writing processes. This may corrupt photos, damage videos, or even make the entire flash drive unreadable. Always use the eject option before physically disconnecting the drive.
Ignoring File Size Limits
File system limitations often cause silent transfer failures. FAT32 cannot transfer files larger than 4GB, so large videos may not copy successfully. Format the USB drive to exFAT if you frequently transfer large media files.
Low Phone Battery During Transfer
Large file transfers consume battery power and system resources. If your phone shuts down mid-transfer, files may become incomplete or corrupted. Ensure your battery level is above 20 percent or keep the device charging during transfer.
Using Low-Quality or Fake Flash Drives
Cheap or counterfeit USB drives often fail during file transfers. They may show incorrect storage capacity, corrupt data, or operate at extremely slow speeds. Invest in reliable, reputable brands to protect important files and long-term backups.
Avoiding these common file transfer mistakes ensures your phone-to-USB transfer remains fast, secure, and reliable. Now you are fully prepared to transfer files confidently without needing a computer.
Frequently Asked Questions
Before wrapping up, here are additional questions people commonly search for about transferring files from phone to USB without a computer. These answers address concerns not covered above and help clarify compatibility, speed, security, and alternative transfer situations.
Can I Transfer Apps From My Phone to a USB Drive?
Most smartphones do not allow direct transfer of installed apps to a USB drive. You can move app files, photos, or documents, but system apps remain stored in internal memory.
Can I Use an External Hard Drive Instead of a USB Flash Drive?
Yes, but the external hard drive must be properly formatted and may require additional power. Some large drives need external power support to work with smartphones.
Is It Possible to Transfer Files Wirelessly to a USB Device?
Yes, if you use a wireless flash drive or WiFi-enabled storage device. These connect through a companion app instead of a physical cable.
Why Is My USB Drive Transferring Files Very Slowly?
Slow transfers can happen due to USB 2.0 speeds, large file sizes, background apps running, or low-quality flash drives. Using a USB 3.0 compatible drive improves performance.
Can I Password-protect Files on a USB Drive Using My Phone?
Most phones do not natively encrypt USB drives. You may need a third-party encryption app or encrypt the drive using a computer beforehand.
Will Transferring Files Reduce Photo Quality?
No. Copying files to a USB drive does not reduce image or video quality because the original file remains unchanged during transfer.
Can I Transfer Files Between Two Phones Using a USB Drive?
Yes. You can copy files from one phone to a USB drive, safely eject it, then connect it to another compatible phone and move the files across.
Conclusion
Learning how to transfer files from phone to USB without computer gives you more control over your data. It helps free up space, protect important memories, and move files quickly without depending on cloud storage or a laptop.
By using the right adapter, confirming compatibility, choosing the correct file format, and safely ejecting your USB drive, you can complete transfers confidently. Follow the steps carefully and enjoy secure, offline file management anytime.