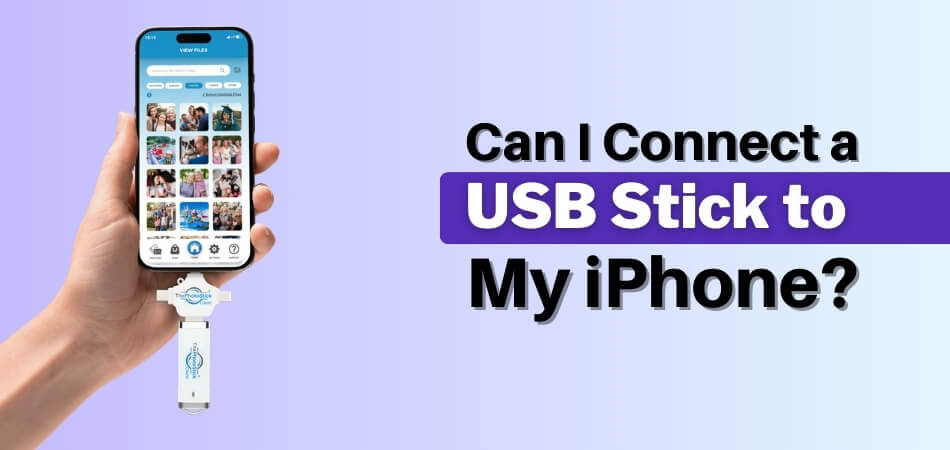
Running out of storage on your iPhone can be frustrating, especially when you want to save photos, videos, or important files. Many users start asking, can I connect a USB Stick to my iPhone to quickly move or back up data? With changing ports and iOS updates, the answer is not always obvious.
The good news is that in most cases, yes, you can connect a USB Stick to your iPhone with the right adapter or compatible drive. The exact method depends on your iPhone model and USB format. Keep reading to learn how it works and avoid common mistakes.
Can I Connect a USB Stick to My iPhone? (In-depth Discussion)
Yes, you can connect a USB stick to your iPhone. However, the method depends on your iPhone model. iPhones with a USB-C port (iPhone 15 and newer) can connect directly to compatible USB-C flash drives. Older iPhones with a Lightning port require a Lightning to USB adapter. Once connected, the USB drive appears in the Files app, where you can view and transfer files.
Now let’s break it down clearly so you understand exactly what’s required and how to do it properly.
Part 1: What Is Required to Connect a USB Stick to an iPhone
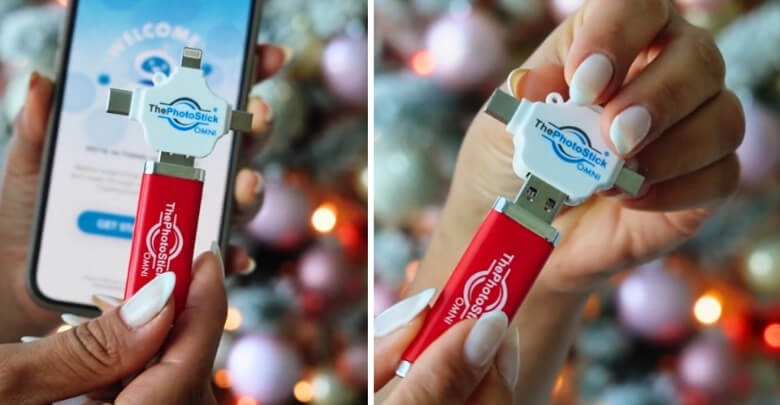
Before plugging anything in, you need to confirm compatibility and gather the right accessories. While standard flash drives work in most cases, some users prefer dual-connector devices like ThePhotoStick Omni, which are designed to work across multiple devices, including iPhones, without complicated setup.
Check Your iPhone’s Port Type
The connection method depends entirely on your charging port.
iPhones With USB-C (iPhone 15 and newer)
- Support direct USB-C flash drive connection
- No adapter required
- Works instantly with most modern USB-C drives
If your iPhone has a small oval-shaped charging port, it’s USB-C.
iPhones With Lightning (iPhone 5 through iPhone 14)
- Require a Lightning to USB adapter
- May need a powered adapter for high-power drives
- Standard flash drives work with a proper adapter
If your iPhone uses the traditional narrow Apple charging port, it’s Lightning.
Accessories You May Need
Depending on your device, prepare the following:
- A compatible USB flash drive
- Lightning to USB adapter (for Lightning models)
- Optional powered adapter (if you see a power error)
If your iPhone displays:
“This accessory requires too much power”
You’ll need a Lightning adapter with a power input so you can charge the phone while using the USB stick.
Make Sure the USB Is Properly Formatted
For smooth operation, your USB drive should be formatted as:
- exFAT (recommended)
- FAT32 (works but limited to 4GB per file)
Drives formatted as NTFS may not work properly on iPhone.
Part 2: How to Connect a USB Stick to Your iPhone
Once you’ve confirmed compatibility, follow these simple steps.
Step 1: Connect the Hardware
- Plug the Lightning adapter into your iPhone (skip if using USB-C).
- Insert the USB stick into the adapter or directly into the USB-C port.
- Unlock your iPhone.
Your device should detect the USB drive within seconds.
Step 2: Locate the USB Drive on Your iPhone
- Open the Files app.
- Tap Browse at the bottom of the screen.
- Look under Locations.
- Select the name of your USB drive.
The drive may appear under its brand name or as “Untitled.”
If you don’t see it:
- Pull down to refresh
- Reconnect the drive
- Check for power warnings
Step 3: Transfer Files Between iPhone and USB
After opening the USB drive in the Files app:
- Tap and hold a file to select it
- Tap Move or Copy
- Choose a destination (On My iPhone or the USB drive)
You can transfer:
- Photos
- Videos
- PDFs
- Word documents
- Audio files
- ZIP folders
- Other supported file types
This allows you to:
- Free up storage space
- Share large files without the internet
- Back up important media offline
What Happens After You Connect It?
Once connected properly, you can:
- View files directly from the USB
- Copy files to your phone
- Transfer files from your phone to the USB
- Delete unwanted files
However, you cannot automatically back up your entire system directly to a USB drive without using a computer.
Where to Find Your USB Drive After Connecting It
After connecting a USB stick to your iPhone, the most common question is where it shows up. In most cases, you can find it in the Files app under Locations. Follow the steps below to access it quickly.
- Open the Files app on your iPhone, which is the default file management app that handles local storage, iCloud Drive, and connected external drives.
- Tap Browse at the bottom right corner of the screen to access all available storage locations, including external USB devices connected to your iPhone.
- Under the Locations section, look for the name of your USB drive. It may appear instantly if the connection and formatting are compatible.
- Your USB stick can show up as the brand name of the drive, as “Untitled,” or as whatever custom name it was given during formatting.
- If the USB drive does not appear immediately, pull down on the Browse screen to refresh the storage list and trigger a manual rescan.
- Ensure the USB stick is fully inserted into the adapter or USB-C port, since loose connections are one of the most common detection issues.
- If you see a power warning message, disconnect and reconnect using a powered adapter, as insufficient power can prevent the drive from mounting properly.
Can You See USB Files in the Photos App?
- Photos and videos stored on a USB stick do not automatically appear inside the Photos app because they remain on external storage until imported manually.
- To move images into your photo library, open the Photos app, tap Import if prompted, then select the files you want to copy to your iPhone.
- After importing, the selected photos and videos are saved to your device storage, while the original files remain on the USB unless you delete them.
If your USB drive appears in the Files app, your connection setup is working correctly. Next, let’s explore why your USB stick might not show up at all and how to fix it quickly.
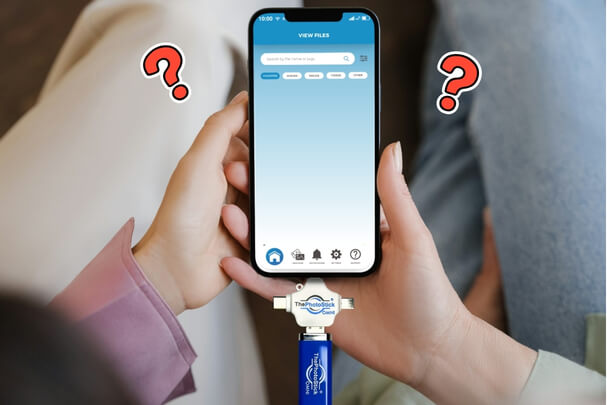
Why Doesn’t My USB Stick Show Up on My iPhone?
If your USB stick is not showing up on your iPhone, the issue is usually related to the adapter, power supply, iOS compatibility, or the USB drive format. Use the fixes below to identify the cause and make your iPhone detect the USB drive.
1. Unsupported File Format
iPhones support:
- exFAT
- FAT32
They do NOT fully support:
- NTFS (read-only at best)
- Some proprietary encrypted formats
If your USB is formatted as NTFS, your iPhone may not recognize it properly. When choosing the best photo stick for iPhone, make sure it is preformatted in exFAT or fully compatible with iOS to avoid detection issues.
2. Not Enough Power
You might see this message:
“This accessory requires too much power.”
This happens when:
- The USB drive draws more power than the iPhone can supply.
- You’re using a non-powered adapter.
- The flash drive has LED lights or extra features.
Solution: Use a powered Lightning adapter or connect through a powered USB hub.
3. Faulty or Cheap Adapter
Low-quality adapters often:
- Failed to establish a connection.
- Causes random disconnections.
- Trigger compatibility errors.
Using certified or well-reviewed adapters reduces this risk significantly.
4. Outdated iOS Version
Older iOS versions may:
- Have limited external storage support.
- Fail to mount newer USB formats.
Updating to the latest iOS version often resolves detection issues.
5. Corrupted USB Drive
If the drive:
- Works on a computer but not on an iPhone
- Randomly disconnects
- Shows empty folders
It may need reformatting. Always back up data before reformatting.
Best USB Formats That Work Smoothly with iOS
If your USB stick is not recognized by your iPhone, the problem is often the file system format. iOS supports specific formats only. Let’s examine which USB formats work best and why.
exFAT Recommended for Most Users
exFAT is the most reliable USB format for iPhone compatibility. It supports files larger than 4GB, works on Windows and Mac, and is ideal for transferring 4K videos, large photo libraries, and full media folders without limitations.
FAT32 Compatible but Limited
FAT32 works with iOS and is widely supported across devices. However, it has a strict 4GB per file size limit, which makes it unsuitable for large video files or extended high-resolution recordings.
NTFS Not Fully Supported on iPhone
NTFS is commonly used on Windows computers, but is not fully supported by iOS. iPhones typically cannot write to NTFS drives, and some drives may not appear in the Files app at all.
Why File System Compatibility Matters
Even if you use the correct adapter and your iPhone model supports external storage, the USB drive may not mount unless it uses a supported format. Most detection issues are caused by formatting, not hardware failure.
Before assuming your iPhone cannot read a USB stick, always verify the file format. Next, let’s explore whether you can back up your entire iPhone directly to a USB drive.
Is It Possible to Back Up Your Entire iPhone to a USB Drive?
Many iPhone users assume they can plug in a USB stick and create a full system backup instantly. In reality, the process is slightly different. Here’s what you need to know. You cannot directly clone or fully back up your entire iPhone system to a USB drive without using a computer. However, you can manually transfer certain data files to external storage.
What You Can Back Up Directly to a USB Stick
You can manually move individual files from your iPhone to a USB drive using the Files app. These include:
- Photos
- Videos
- PDFs
- Documents
- Files stored inside the Files app
For many users, this is the easiest way to back up photos and videos without paying for additional cloud storage. This method works well for freeing up storage space or creating offline copies of important media. However, it does not create a full system backup.
What You Cannot Back Up Directly
A USB stick cannot directly store:
- System settings
- Installed apps
- App data and saved progress
- Messages database
- Health data
- Full encrypted device backup
These elements are part of the iOS system backup structure and require a computer-based backup process.
Creating a Full iPhone Backup Using a USB Drive
To back up your entire iPhone properly, you must first create a local backup on a computer, then transfer that backup file to your USB stick.
On Mac
- Connect your iPhone to your Mac.
- Open Finder.
- Select your iPhone from the sidebar.
- Choose “Back up all of the data on your iPhone to this Mac.”
- Click Back Up Now.
- After completion, copy the backup folder to your USB drive.
On Windows
- Install and open iTunes.
- Connect your iPhone via USB cable.
- Select your device in iTunes.
- Choose “Back Up Now.”
- Locate the backup folder on your computer.
- Move that folder to your USB drive.
This method creates a complete device backup that includes app data, system settings, and encrypted information if selected.
USB Backup vs iCloud Backup
Here’s a clear comparison to help you decide which method fits your needs:
| Feature | USB Backup | iCloud Backup |
| Internet Required | No | Yes |
| Subscription Fee | No | Yes, after 5GB |
| Automatic Backups | No | Yes |
| Full Device Backup | Yes via computer | Yes |
| Accessibility | Physical USB required | Accessible anywhere |
Which Option Should You Choose?
If you want:
- Offline storage without monthly fees → USB backup is a strong option.
- Automatic daily backups → iCloud is more convenient.
- Extra security through redundancy → Combining both is ideal.
Many users choose to store photos and videos on a USB drive while relying on iCloud for system-level backups.
You cannot directly perform a full iPhone system backup to a USB stick without a computer. However, you can manually transfer media files or create a complete local backup using Finder or iTunes and then store it on a USB drive for offline security.
Common Power and Compatibility Problems Explained Simply
Even when you use the right adapter and your iPhone supports external storage, USB drives can still fail due to power limits, formatting issues, or hardware compatibility. Here are the most common problems and the simplest fixes.
Accessory Requires Too Much Power
This usually happens when the USB drive draws more power than the iPhone can supply, especially with Lightning models or power-hungry flash drives.
Fix: Use a Lightning adapter with a charging port, a powered USB hub, or a low-power USB stick.
USB Drive Not Showing Up at All
If the drive is connected but missing from the Files app, the problem is often the adapter, iOS detection, or file system format.
Fix: Refresh the Files app, reconnect the drive firmly, and confirm the USB is formatted as exFAT or FAT32.
Large Capacity Drives Not Mounting
High-capacity flash drives and external SSDs sometimes fail because they require more power or use formats that iOS does not mount properly.
Fix: Use external power for SSDs, avoid unpowered hubs, and reformat to exFAT if the drive was set up for Windows only.
Encrypted or Password-Protected USB Drives
Some secure USB sticks rely on desktop software to unlock the storage. iOS cannot run those unlock tools, so the drive may stay inaccessible.
Fix: Use a non-encrypted drive for direct iPhone access, or unlock the drive on a computer before transferring files.
Works on Android but Not on iPhone
Android supports a wider range of file systems and may mount NTFS drives more easily. iPhones are stricter for security and system control reasons.
Fix: Reformat drives to exFAT and avoid special security software if you want smooth iPhone compatibility.
Sudden Disconnections During File Transfer
Disconnections usually happen because of a loose adapter fit, unstable power supply, low battery, or transferring very large files in one go.
Fix: Keep the phone charged, avoid moving the cable, use a solid adapter, and transfer large files in smaller batches.
Cheap or Non-Certified Adapters Causing Problems
Low-quality adapters often fail to deliver stable power or data transfer, causing random disconnects or no detection in the Files app.
Fix: Use certified or well-reviewed adapters designed specifically for iPhone compatibility.
If you solve power and formatting first, most USB connection problems disappear. If the drive still won’t show, the adapter quality and iOS version are usually the next issues to check.
When Does Using a USB Stick Make Sense?
Connecting a USB stick to an iPhone makes sense when you need quick offline storage for photos, videos, or documents, especially if iCloud space is limited. It’s a practical option for transferring large files and freeing up iPhone storage fast.
Here are the most common situations where it’s especially helpful:
- Running out of iPhone storage
- Wanting an offline backup
- Avoiding monthly cloud fees
- Transferring large files quickly
- Sharing files without internet
However, it does require:
- The right adapter.
- Proper formatting.
- Manual file management.
Frequently Asked Questions
Before you connect a USB drive to your iPhone, you may still have a few practical questions. Below are common queries users search on Google related to USB compatibility, file access, and device limitations that were not covered earlier in this guide.
Can I Connect a USB Stick to My Iphone Without an Adapter?
If your iPhone has a USB-C port, you can connect a compatible USB-C flash drive directly. Lightning models require a Lightning to USB adapter for proper connection.
Can I Watch Movies Directly From a USB Stick On My iphone?
Yes, you can play supported video formats directly from the Files app without copying them to your device, as long as the format is compatible with iOS.
Can I Transfer Files From a USB Stick to iCloud Drive?
Yes, you can move files from the USB drive into iCloud Drive using the Files app, allowing access across multiple Apple devices.
Do USB Flash Drives Work With All iOS Versions?
External drive support is available on iOS 13 and later. If you are using an older version, you may need to update your device.
Can I Connect a Camera Usb Drive to My iPhone?
Yes, but it may require a compatible adapter. Some cameras are better connected using a Lightning to SD card reader instead.
Will Connecting a Usb Stick Drain My iphone Battery?
Yes, external drives draw power from your iPhone. Larger drives or extended transfers may reduce battery life more quickly.
Can I Use a USB Stick to Free Up Space on My iPhone?
Yes, you can move photos, videos, and documents to a USB drive to create more available storage on your device.
Conclusion
If you have ever wondered can I connect a USB Stick to my iPhone, the answer is yes, but it depends on your device and accessories. Understanding port type, formatting, and power requirements makes the process much easier.
With the right setup, a USB drive can help you transfer files, free up storage, and create offline backups. Follow the steps carefully, choose compatible hardware, and you can use external storage confidently with your iPhone.